

Sourdough Starter 101
Hello baking babes! Its a bright sunny day today, my daughters are happy, my plants are perky and my starter is bubbly!
I thought to myself while I was making some sourdough starter pancakes, how many things I have been able to make for my family with something as simple as a sourdough starter. It is a kitchen staple in my house and we are all feeling the benefits of incorporating fermented foods into our diets regularly. In line with sharing my passion for baking, I want to share the wealth of health and introduce you to the simple pleasure of sourdough starter.
In 2020, I began my sourdough journey, as many did during that time. I endlessly researched, tried, failed, and then finally succeeded in creating a starter on my own. That starter is not the starter I have now, but I wanted to share my tips for making your own starter. That is indeed the first place to start when beginning a sourdough journey.
First of all. Every starter is different. So what you read here may work for you, but you also may need to make some adjustments. In my opinion, the two biggest variables in a sourdough starter are the water you use and the temperature at which the starter is made in. Most starters enjoy a warmer atmosphere.
Tip #1: Use spring water and warm it up every time you feed, not hot, just lukewarm
Spring water has amazing minerals in it that will help your starter get nice a strong. Having it be warm during the feedings ensures that there is a small temperature increase, which has proven to be the key to my happy starter. Again, something different might work better for you, but this is a great place to start.
Tip #2: Use unbleached bread flour or AP flour in the beginning. I cannot tell you how many times I read about a wild concoction of flours and that was daunting. So I went with basic unbleached bread flour flour. If you want to add in rye, wheat etc. do it slowly and continue to mix it with the original flour. You may ask, does it have to be unbleached? Well, no, not really but in my experience, my starters have hated bleached flour.
Now that we have covered the two basics of a starter, these are my steps in creating a starter. Remember, things won’t happen overnight and this requires patience. I am fairly confident if you follow this 7 day schedule, you will be able to have a starter of your own.
Day 1: Create your starter using a 1:1 ratio with 25g of unbleached all-purpose flour and 25g warm spring water. I always used a mason jar because I had it on hand but really any container you can see through works great. Lightly cover and let rest for about 12 hours.
Day 2-Day 5: Do the exact same thing as day 1. You will read a lot about discarding every day, but I recommend not doing that(which is why the measurement is a bit smaller)
Tip #3: You are likely to experience liquid on top of your starter at some point. This is called hooch and it just means you need to feed it more often. This typically happens more in the beginning. Just stir in the hooch, feed 1:1 ratio and you’re all set. The only time a starter is ruined, is if there is mold.
Day 6: You should see some growth to your starter by now. By that I mean, after you feed it, it literally doubles in size. This is where you can discard if you don’t want a large jar full of starter. Unless you own a microbakery or are making a lot of loaves of bread…there is no need for a large jar to sit on your counter.
Tip #4: Keep the discard!!! Put it in another jar and keep it in your fridge. Use it for crackers, pancakes, muffins, brownies, literally anything!
If you don’t have a nice bubbly starter by now do not worry. This process takes time.
Tip #5: Add a couple teaspoons of sugar to your next feeding. Sugar and starter are a lovely combination and that is one thing I do every few times I bake. No need to do it every feed!
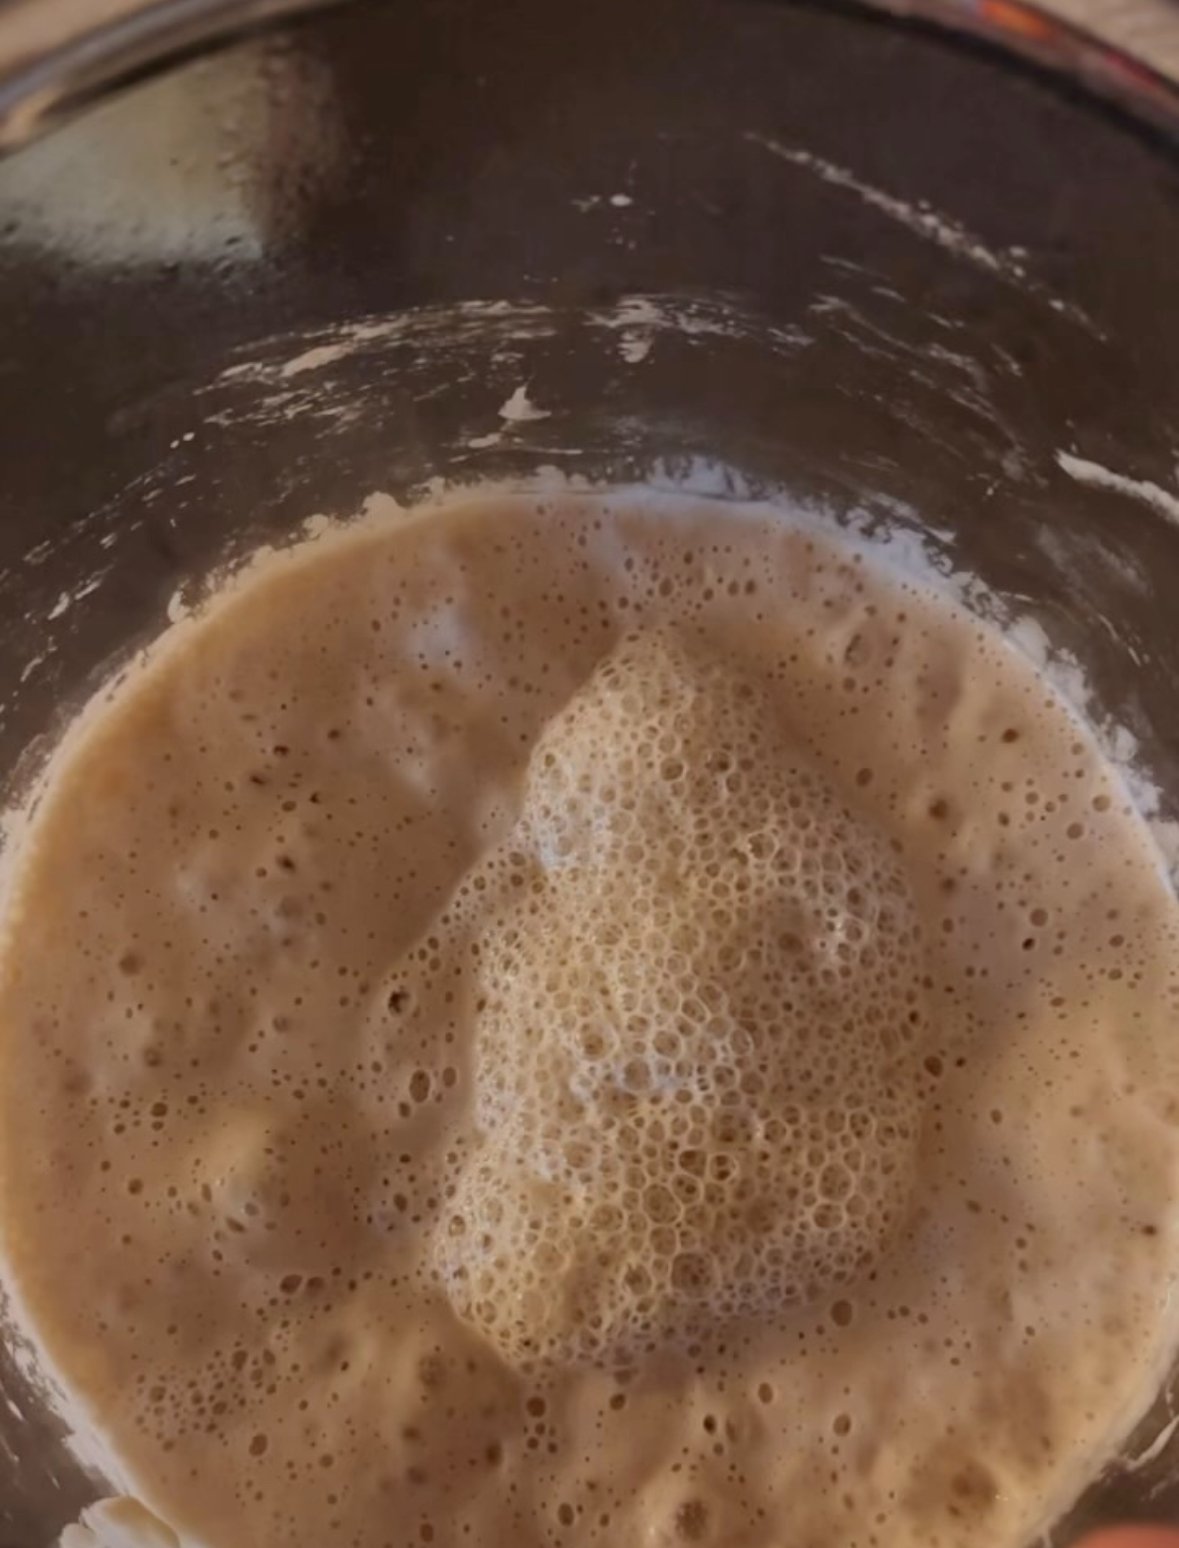
You will see a lot of starters get stringy, or bubbly. Mine, gets really bubbly when it is active a ready to go. In the picture above, I would feel comfortable baking with it but honesty, she is HUNGRY. Those little bubbles mean “feed me!”
Every starter is different! Just remember, this is a labor or love from start to finish. It is a process that takes some tender love and care, so don’t give up or get discouraged!
Check back in a few weeks for a bake day timeline you can use with your new starter!